Quantcast
Channel: Article |
Viewing all 86 articles
Browse latest View live

Aveksa Adds SSO to Its Cloud-Based Identity, Access Management SaaS Platform

$
0
0

Aveksa Inc is adding single sign-on capabilities to its MyAccessLive cloud-based identity and access management (IAM) offering. Aveksa now offers easy application and user on-boarding for IT, and also provides simple “one click” access for line-of-business users accessing thousands of on-premise, mobile and cloud apps.

Adding SSO to MyAccessLive will also give enterprises to gain full visibility and control of user access, across all applications. It uses a standards-based framework and comes with pre-built connectors, according to Aveksa’s Chief Technology Officer Deepak Taneja.

Continue here


Installing OpenAM

$
0
0

Some of the basics requirements for the initial installation for OpenAM are to have Java installed and a supported application server as the deployment container. We’ll use Tomcat to show you some screens about the installation process . One important task before to start the deployment of the opensso.war is to modify the Java Heap parameter on your Tomcat instance with at least -Xmx1024m -XX:MaxPermSize=256m.

On this post we’ll show you some screen about the process. The installation was executed using Tomcat 7

After you deployed the opensso.war you need to go to the browser to install the installation.

Go to the http://localhost:80/opensso and you’ll see the screen to start the installation for OpenAM. Here you can choose for a Create a Default Configuration or Create New Configuration. For this example we’ll choose Create a Default Configuration

OpenAM Installation

After you select the default configuration, a screen appears to introduce the password for the openAM default users and default policy agent. Here introduce a password and click Create Configuration

OpenAM Installation

At this point OpenAM we’ll start the installation process and wait windows is displayed.

OpenAM Installation

Once the OpenAM installation and configuration is completed, you’ll see a window with a Configuration Complete message. You can click on the proceed to login button to start using the OpenAM instance.

OpenAM Installation

On the Sign In to OpenAM page you’ll need to introduce the credentials to access to the configuration screens. You can use the default OpenAM user name account called amAdmin with the password you introduced during the installation.

OpenAM Installation

If the credentials were properly introduced, openAM will allow you to login and load the common task tab with some recommended initial tasks.

OpenAM Installation

You can learn more about OpenAM on the Forgerock website

Quest One Identity Manager in few words

$
0
0

Quest one identity manager is another product you can use in your company to deploy it and have a provision, deprovisioning, reporting, governance, certifications among some other features based on the quest one identity manager ( known as Q1IM) you want to deploy.

Q1IDM is a product based on a database driven due that Information such as employee properties, information about user accounts and organizational data are stored in the database. Q1IDM works together with Microsoft SQL Server and Oracle database systems.

Also, access permissions data, workflow definitions, parameters for influencing and controlling system behavior and data for customizing Identity Manager administration tools to suit the user’s needs are also stored in the database.

Some of the technologies related to the quest one identity management product are:

• Microsoft Windows Server
• Microsoft SQL Server ( or Oracle Database )
• Microsoft IIS
• Microsoft Visual Studio (mainly VB and C#)

OpenIDM 2.1 now released and available

$
0
0

OpenIDM 2.1 is now optimized for Internet scale with a discovery engine that is multi-threaded for performance and clustered for high availability. The
discovery engine enables the organization to synchronize users across many different data stores to ensure records are accurate and up to date in support of compliance and audit requirements. OpenIDM 2.1 embeds the Activiti Business Process and Workflow engine, a comprehensive, lightweight, and scalable solution, which meets industry-standard Business Process Model and Notation (BPMN) version 2.0 compliance, to support workflow-driven provisioning and identity management.

Take a look on theOpenIDM 2.1.0 Release Notes here http://docs.forgerock.org/en/openidm/2.1.0/release-notes/index/index.html

Take a look on the OpenIDM project here http://openidm.forgerock.org/

Calculate the initial database size in quest One Identity Manager (Q1IM)

$
0
0

One of the key steps during the installation for the Quest identity manager product is to decide the Initial size for the database. You can choose the initial size during the installation process. The default or the recommended size is based on the employees to be managed by the product.

Initial quest one database size is based on the employees, here some recommended sizes:

* 1 GB – Test database
* 5 GB – 1000 employees
* 10 GB – 10000 employees
* 20 GB – 20000 employees
* 50 GB – 50000 employees
* 100 GB – 100000 employees

NetIQ Self Service Password Reset (SSPR) at Glance

$
0
0

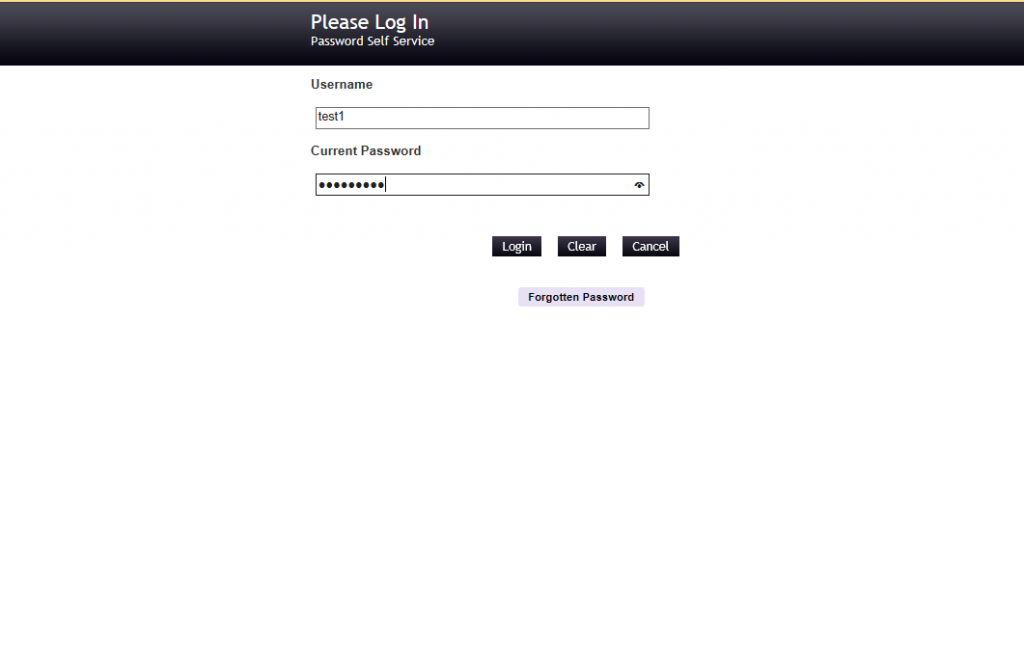
Self Service Password Reset known as SSPR is a password reset solution that helps to reduce help desk costs by enabling users to reset the password based on the rules specified in the password policy.

Some of the features provided by the SSPR are:

* Stand-alone, easy to deploy, java web application
* Captcha support using reCaptcha
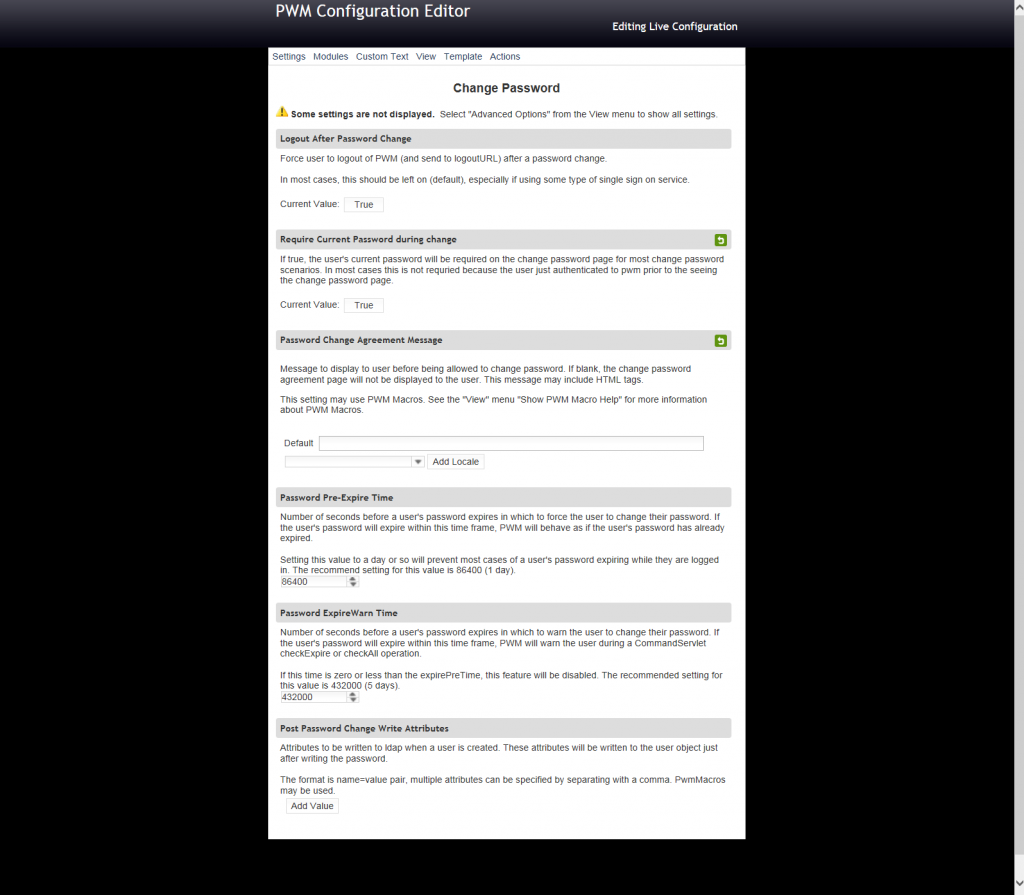
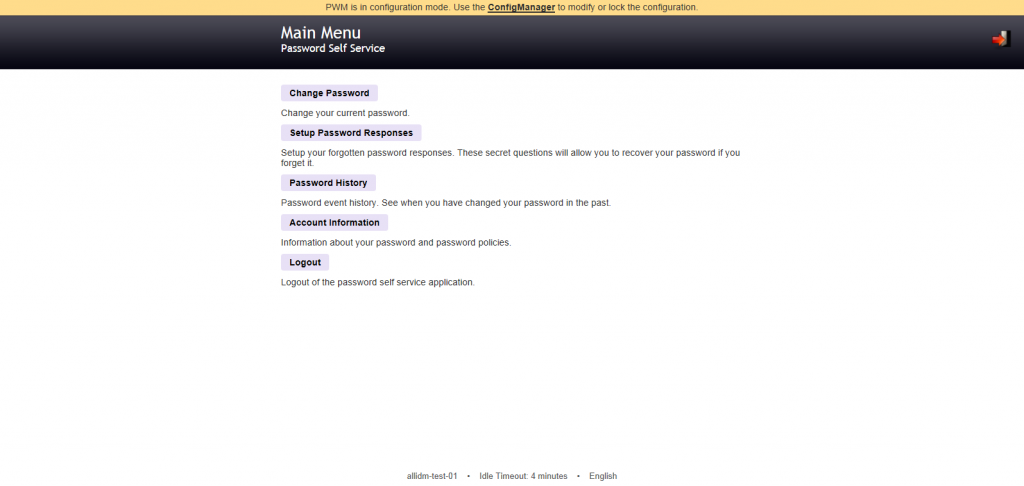
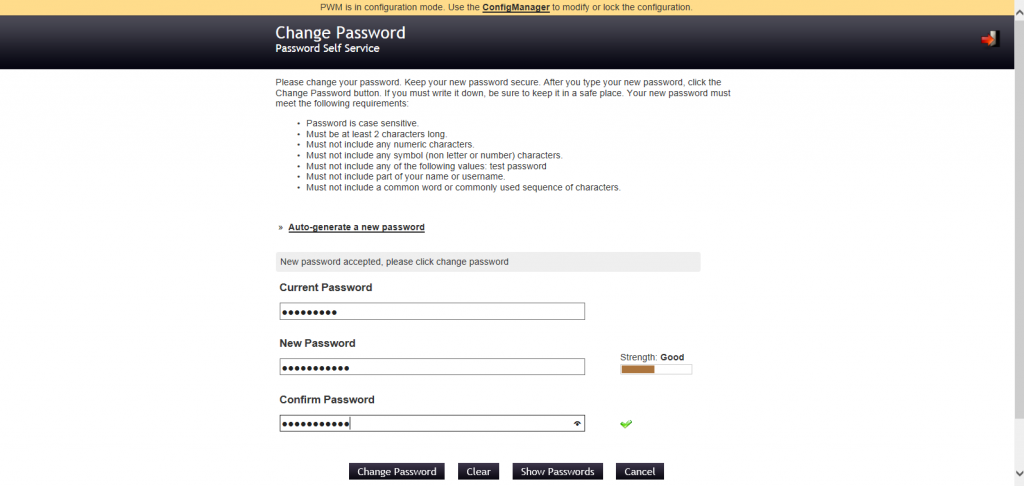
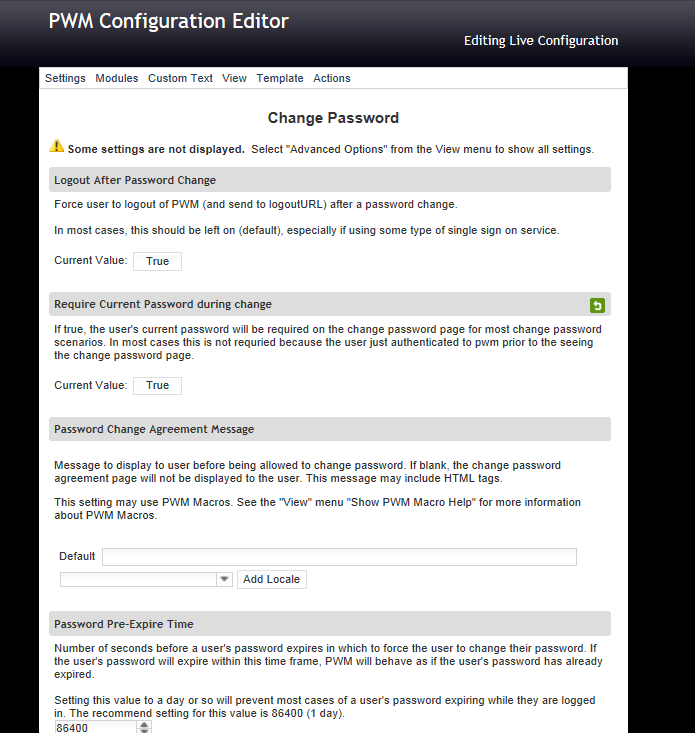
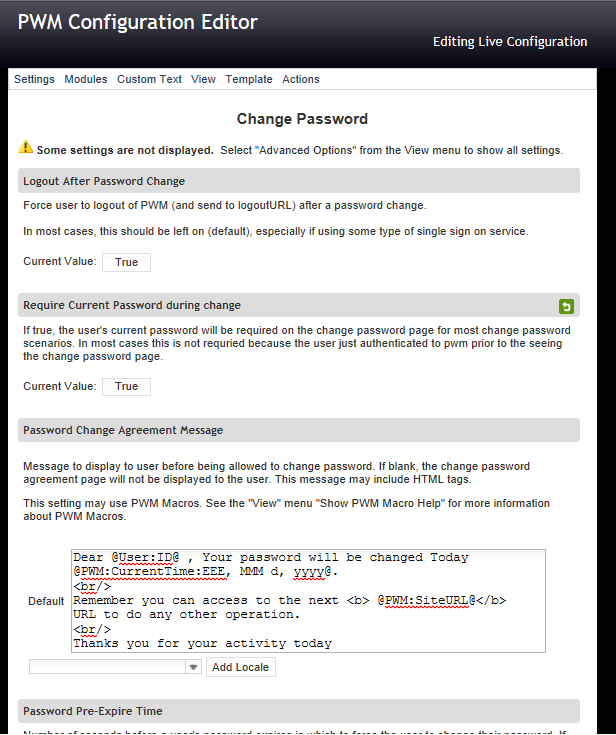
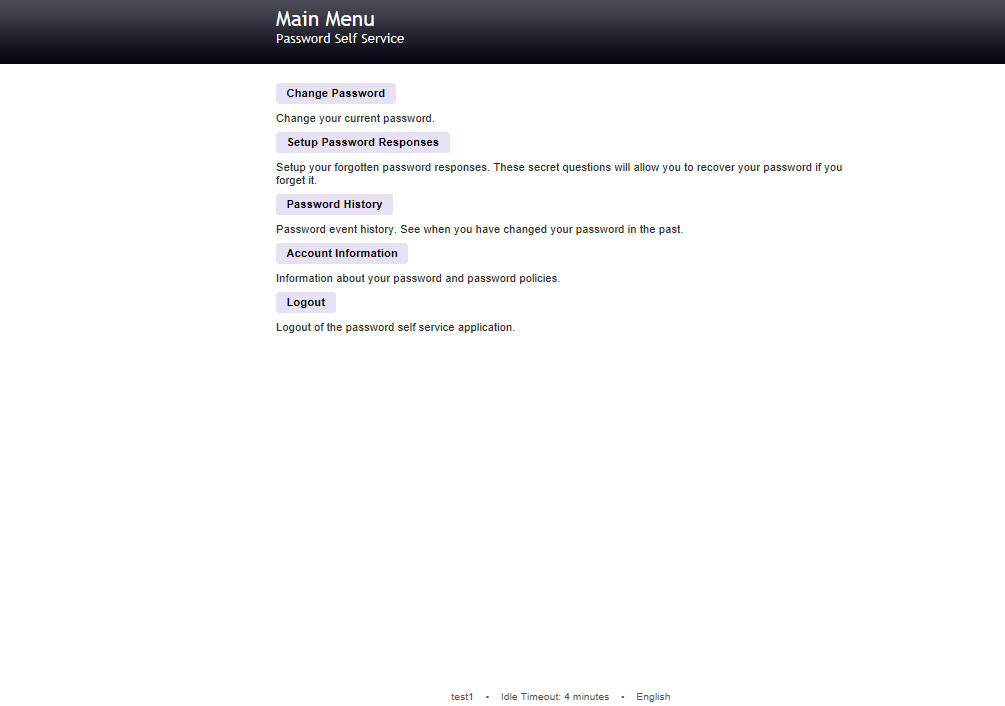
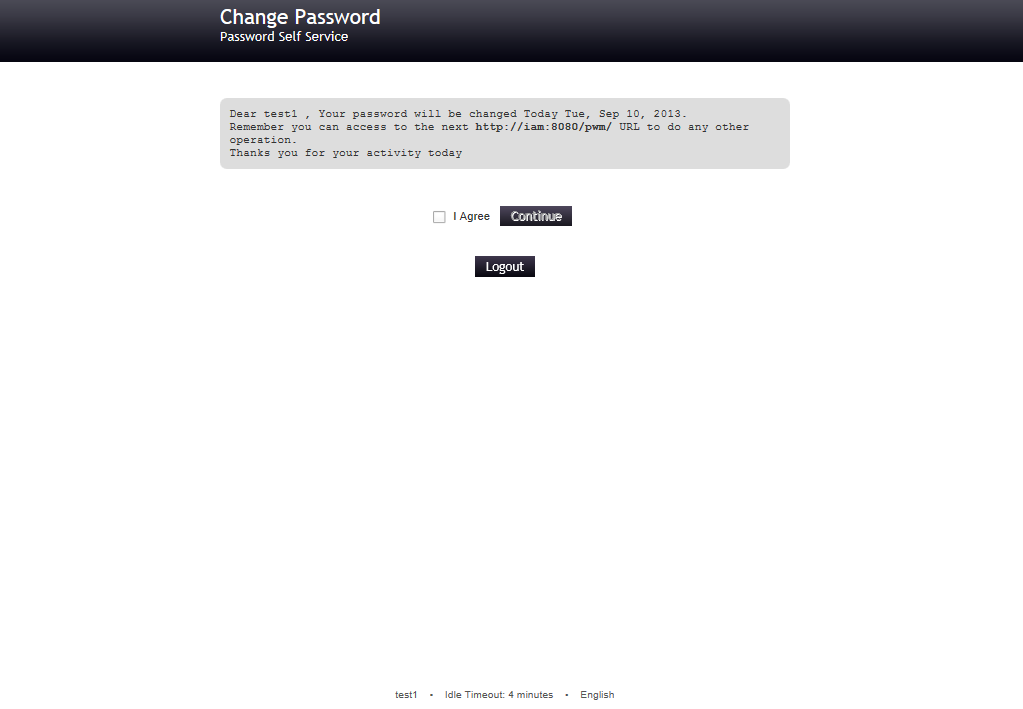
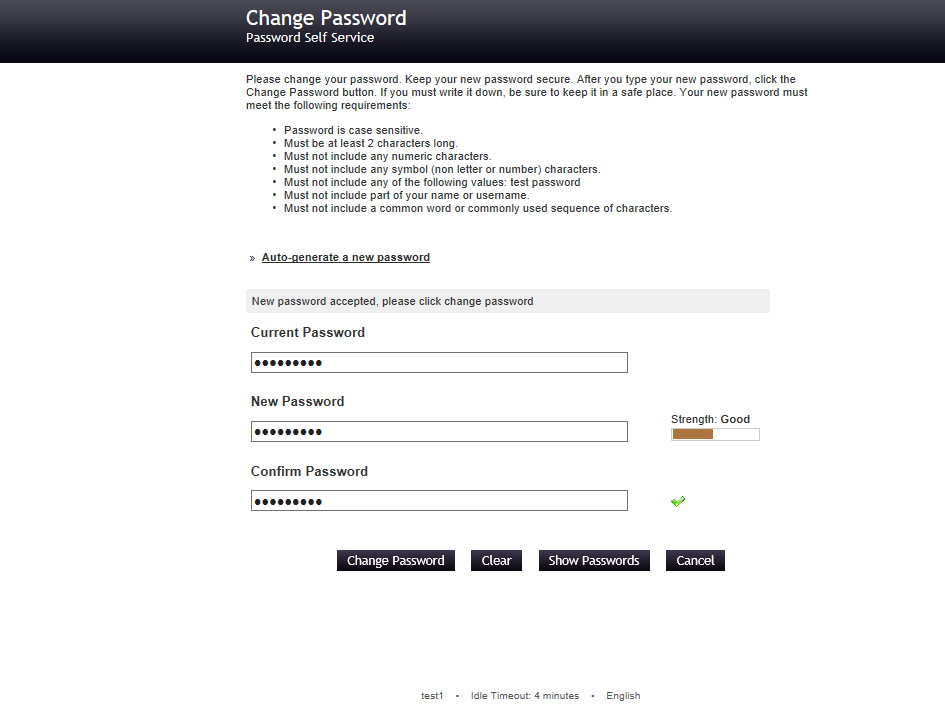
* Change current password
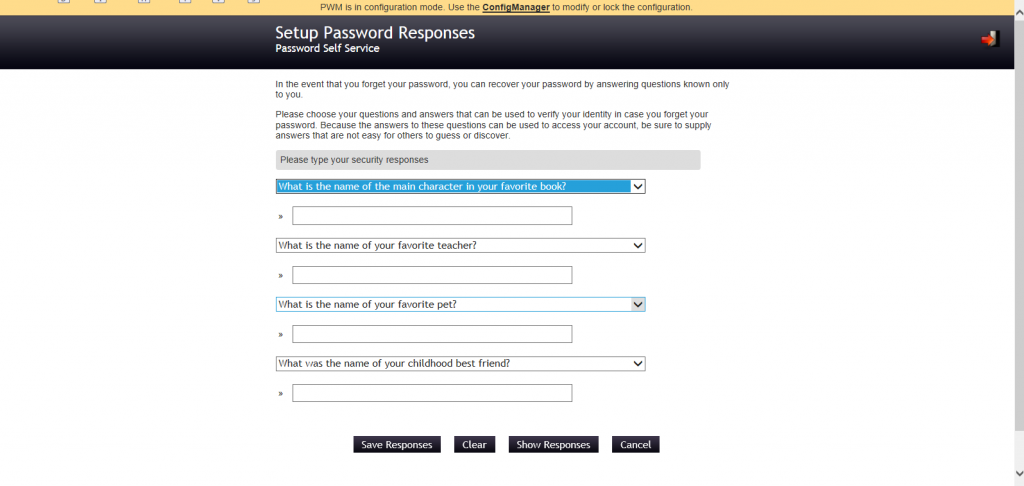
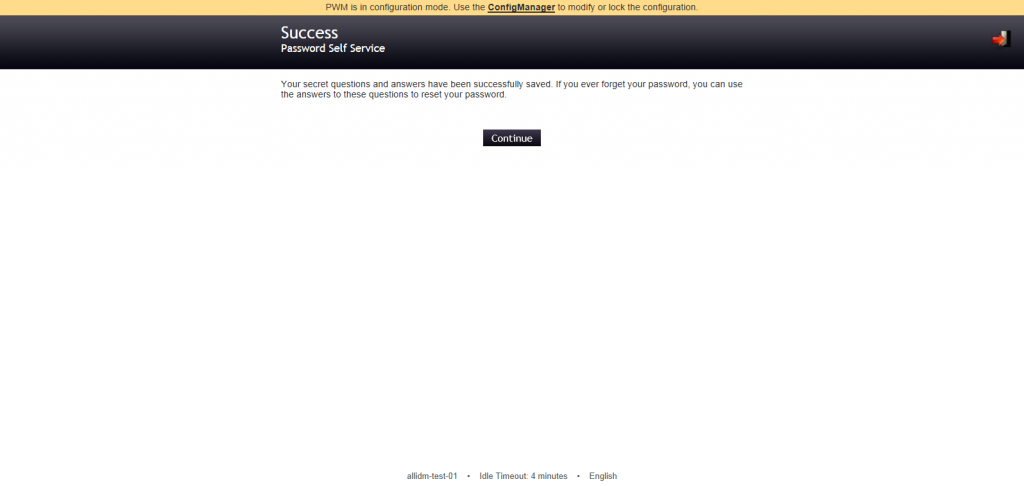
* Challenge response setup
* Reset forgotten password:
* New user registration
* Simplify help desk support response
* Localized for Czech, Dutch, English, French, German, Italian, Polish, Portuguese, Spanish
* Support for large dictionary wordlists to enforce strong passwords

The product bits are very light. If you want to install the product you need the next prerequisites:

* Java JDK
* Apache Tomcat
* SSPR War file

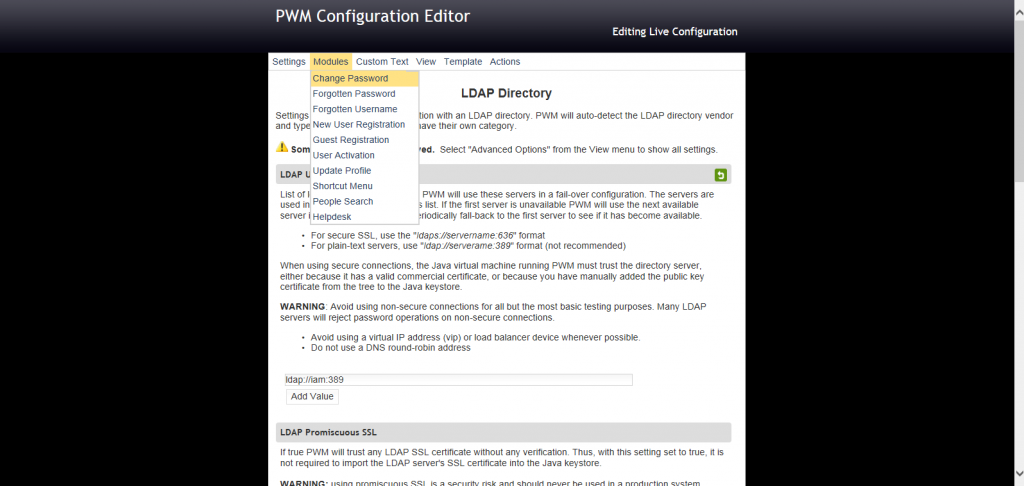
The sspr installation allow you to do the configuration in three different ways

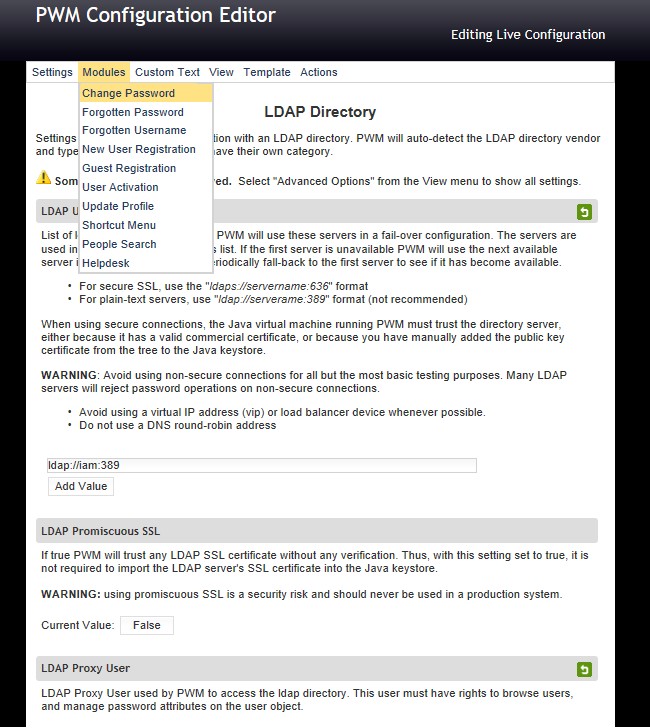
* New Configuration – Novell,OpenLDAP,DirectoryServer389,Others
* New Configuration – Active Directory – Store responses in a database
* New Configuration – Active Directory – Store responses Active Directory

The installation process is not complicated after you download the product you’ll need to:

1. deploy the sspr.war
2. Setup some schemas on your directory server
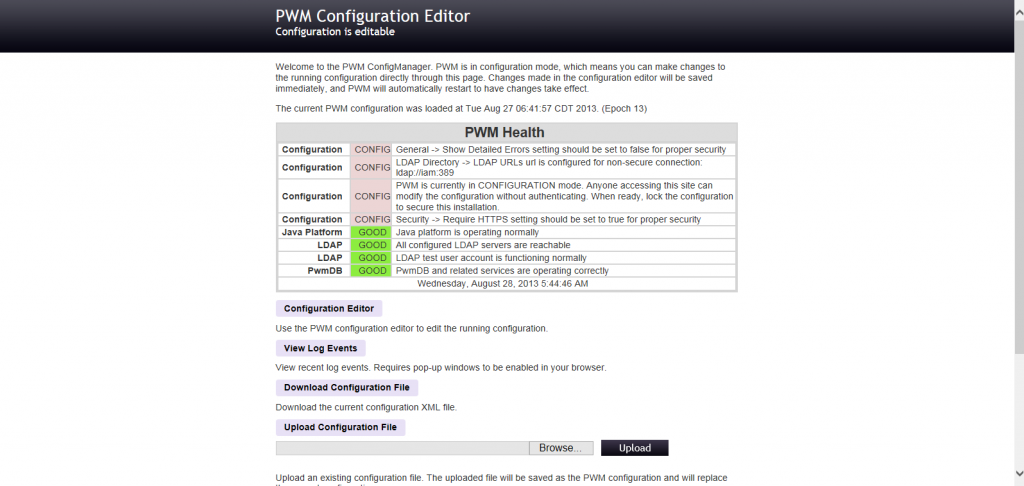
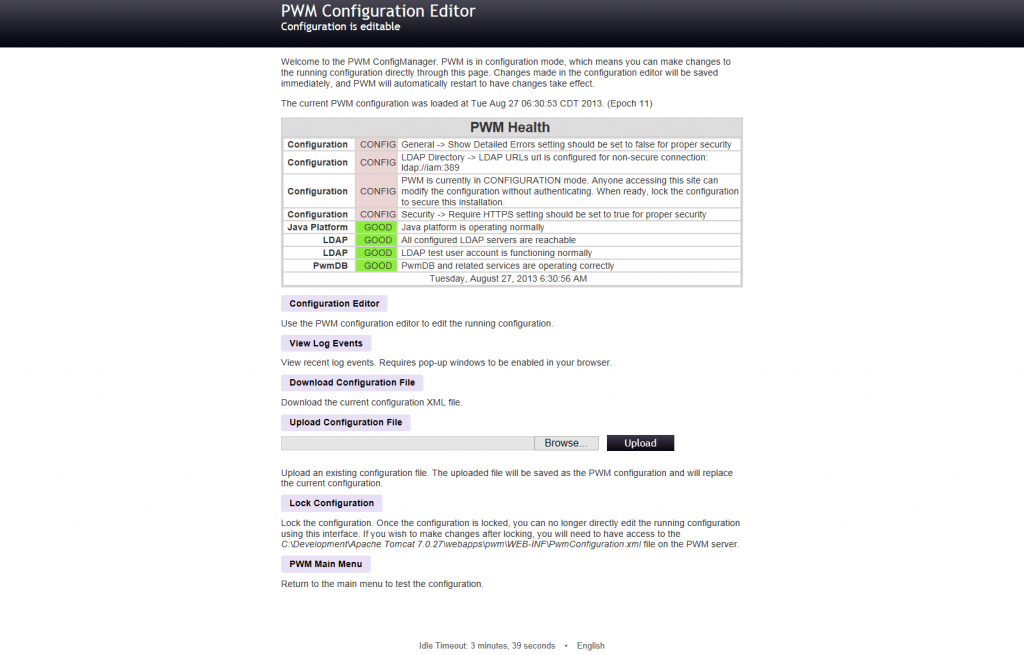
3. Go to the Config Manager and complete the configuration
a. http://localhost:7080/sspr/config/ConfigManager

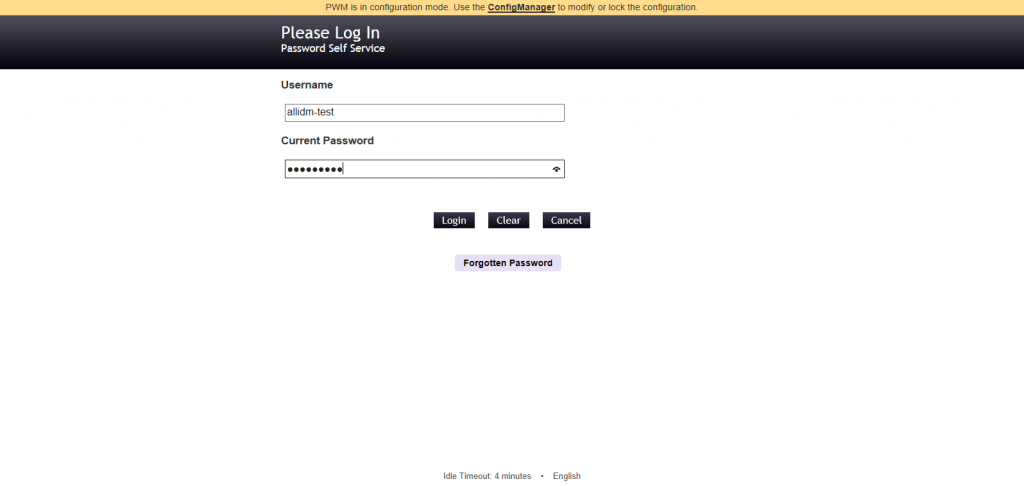
4. Start using the product

You can download from here and learn more about the NetIQ Self Service Password Reset ( SSPR )

Open Source Directory Server OpenDJ

$
0
0

You might start looking for an open source directory server solution around the globe an here we present you one of them. We are talking about OpenDJ which is currently developed by OpenDJ.

OpenDJ is open source LDAPv3 compliant directory service, developed for the Java platform, providing a high performance  and secure store for the identities managed by your enterprise.

Just for your history records OpenDJ is a downstream build of the OpenDS project, with a different name to avoid trademark issues. OpenDJ comprises of an open source directory server, client tools, and an LDAP SDK. All modules are 100% Java based and require at least Java 1.6.

You can download OpendDJ from http://forgerock.com/opendj-downloads/ the current version as we speak is the OpenDJ 2.5


Need a password manager solution. Quest One Password Manager

$
0
0

Password Manager provides a convenient way to manage passwords introducing Management Policy which incorporates the following components: workflows, Questions and Answers policy, secret questions, user enforcement rules, user scope and helpdesk scope.

This product also includes Flexible Self-Service and Helpdesk Workflows.

If you are looking for Phone-Based Authentication quest one Password Manager offers the phone-based authentication that will allow users perform password management tasks on the Self-Service site, after that they will receive an automated SMS or call to the phone number on record with a one-time PIN code. Then they will be required to enter the one-time PIN code on the Self-Service site to authenticate themselves.

Some tasks you can do on the project are:

* Policies Management

* Password Policies

* Reporting

* Password manager and backup recovery

* License control

You can take a look on the product web page to get more details http://www.quest.com/quest-one-privileged-password-manager/


Create a Root user in OpenDJ

$
0
0

Sometimes you need to create a user with Root privileges on the OpenDJ directory server.

You need to do two main steps:

1.Create the root user on OpenDJ
2.Change the root user created the privileges
a.Take a look on the OpenDJ documentation to identify what is available. About OpenDJ Privileges

Below is an example about how to do it, in order to complete it you need:

1.Copy the text below using a text editor and save it as a ldif file. For example runme.ldif

# Create root user

dn: cn=TestRootUser,cn=Root DNs,cn=config
objectClass: inetOrgPerson
objectClass: person
objectClass: top
objectClass: ds-cfg-root-dn-user
objectClass: organizationalPerson
userPassword: password
cn: TestRootUser
sn: TestRootUser
ds-cfg-alternate-bind-dn: cn=TestRootUser
givenName: Directory

# Change a Root User’s Privileges

dn: cn=TestRootUser,cn=Root DNs,cn=config
changetype: modify
add: ds-privilege-name
ds-privilege-name: proxied-auth
ds-privilege-name: data-sync

2.On your openDJ instance, go to the bin or bat folder depending on your operating system and execute the next command.

On windows you can try something like:

ldapmodify -h localhost -p 389 -D “cn=Directory Manager” -w Password1dm –defaultAdd –filename “C:\Forgerock\OpenDJ\bat\runme.ldif”

Installing Oracle Unified Directory 11gR2

$
0
0

Steps to Install Oracle Unified Directory 11gR2

In this post we’ll show you some screen about the installation process for Oracle Unified Directory Server 11gR2.

1. Download the OUD and Unzip the OUD installable
2. Go to the unzipped folder and double click on the setup.exe file
Installing Oracle Unified Directory
3. On the welcome window click next
AllIDM-Oracle-Unified-Directory-Installation-2
4. The Install software updates window is displayed; here you can provide your oracle support credentials. Select Skip Software updates
AllIDM-Oracle-Unified-Directory-Installation-3
5. The Oracle installation for Oracle Unified Installation will check the prerequisites. Click Next
AllIDM-Oracle-Unified-Directory-Installation-4
6. Specify the installation location. For this example we’ll create a brand new folder called Directory\Middleware, and specify the OUD instance name
AllIDM-Oracle-Unified-Directory-Installation-5
7. The installation summary is displayed. Take a look and click next
AllIDM-Oracle-Unified-Directory-Installation-6
8. The installation will start and you’ll see the installation progress bar at the top
AllIDM-Oracle-Unified-Directory-Installation-7
9. Once is completed click next button
AllIDM-Oracle-Unified-Directory-Installation-8
10. Now the installation is completed. Click the finish button and start working on the product
AllIDM-Oracle-Unified-Directory-Installation-9
11. We recommend you to go back to the installation folder and explore the files installed
AllIDM-Oracle-Unified-Directory-Installation-10

ManageEngine Launches Integrated IAM Solution for Windows Shops

$
0
0

ManageEngine, the real-time IT management company, today launched AD360, the integrated solution for identity and access management (IAM) in organizations running on Windows-based infrastructure. From everyday user management to keeping user activity compliant with IT regulatory laws, AD360 is engineered to holistically address all aspects of IAM for SMBs and enterprise organizations that use Windows Active Directory.

In Windows environments, IAM means more than provisioning users. End users themselves must also be able to perform self-service tasks, which relieves the IT help desk of routine duties so that IT staff can concentrate on more demanding help desk chores. Similarly, the increasing demands of IT regulations are driving IT organizations to generate a growing number of reports to demonstrate compliance. While discrete, individual products can meet these demands on a point by point basis, they complicate IAM efforts with multiple management consoles, product configurations and sign on credentials.

Check the Article
Source Yahoo Finance

Check the product http://www.manageengine.com/active-directory-360/index.html

New Release of Quest One Quick Connect for Cloud Services 3.4

$
0
0

A new version of Quest One Quick Connect for Cloud Services 3.4 which is now ready for download.

Look What’s New:

Quest One Quick Connect for Cloud Services connects to the following target systems:
- Google Apps
- Google Postini Services
- Microsoft Office 365
- Salesforce
- ServiceNow

Take a look on the Quest One Quick Connect for Cloud Services page

How to Integrate NetIQ Access Manager with ServiceNow IT Service Management Software

$
0
0

ServiceNow is a SaaS provider of IT service management (ITSM) software. Using NetIQ Access Manager (NAM) with service-now.com, corporate users will be allowed to use their existing corporate LDAP credentials for single sign-on access to service-now.com as well as any web applications protected by NAM.

This cool solution will show you how to integrate ServiceNow into your NAM implementation using a federated authentication via SAML 2.0. By using SAML 2.0, your users authenticate to NAM as they typically do using their existing LDAP credentials provided by your corporate directory. The service-now.com application then authenticates users via SAML without the need to synchronize passwords with service-now.com.


Check here how to integrate with NetIQ

Aveksa Adds SSO to Its Cloud-Based Identity, Access Management SaaS Platform

$
0
0

Aveksa Inc is adding single sign-on capabilities to its MyAccessLive cloud-based identity and access management (IAM) offering. Aveksa now offers easy application and user on-boarding for IT, and also provides simple “one click” access for line-of-business users accessing thousands of on-premise, mobile and cloud apps.

Adding SSO to MyAccessLive will also give enterprises to gain full visibility and control of user access, across all applications. It uses a standards-based framework and comes with pre-built connectors, according to Aveksa’s Chief Technology Officer Deepak Taneja.

Continue here

Installing OpenAM

$
0
0

Some of the basics requirements for the initial installation for OpenAM are to have Java installed and a supported application server as the deployment container. We’ll use Tomcat to show you some screens about the installation process . One important task before to start the deployment of the opensso.war is to modify the Java Heap parameter on your Tomcat instance with at least -Xmx1024m -XX:MaxPermSize=256m.

On this post we’ll show you some screen about the process. The installation was executed using Tomcat 7

After you deployed the opensso.war you need to go to the browser to install the installation.

Go to the http://localhost:80/opensso and you’ll see the screen to start the installation for OpenAM. Here you can choose for a Create a Default Configuration or Create New Configuration. For this example we’ll choose Create a Default Configuration

OpenAM Installation

After you select the default configuration, a screen appears to introduce the password for the openAM default users and default policy agent. Here introduce a password and click Create Configuration

OpenAM Installation

At this point OpenAM we’ll start the installation process and wait windows is displayed.

OpenAM Installation

Once the OpenAM installation and configuration is completed, you’ll see a window with a Configuration Complete message. You can click on the proceed to login button to start using the OpenAM instance.

OpenAM Installation

On the Sign In to OpenAM page you’ll need to introduce the credentials to access to the configuration screens. You can use the default OpenAM user name account called amAdmin with the password you introduced during the installation.

OpenAM Installation

If the credentials were properly introduced, openAM will allow you to login and load the common task tab with some recommended initial tasks.

OpenAM Installation

You can learn more about OpenAM on the Forgerock website


Quest One Identity Manager in few words

$
0
0

Quest one identity manager is another product you can use in your company to deploy it and have a provision, deprovisioning, reporting, governance, certifications among some other features based on the quest one identity manager ( known as Q1IM) you want to deploy.

Q1IDM is a product based on a database driven due that Information such as employee properties, information about user accounts and organizational data are stored in the database. Q1IDM works together with Microsoft SQL Server and Oracle database systems.

Also, access permissions data, workflow definitions, parameters for influencing and controlling system behavior and data for customizing Identity Manager administration tools to suit the user’s needs are also stored in the database.

Some of the technologies related to the quest one identity management product are:

• Microsoft Windows Server
• Microsoft SQL Server ( or Oracle Database )
• Microsoft IIS
• Microsoft Visual Studio (mainly VB and C#)

Configure Change Password in Open Source Password Self Service for LDAP directories (PWM)

$
0
0

PWM allows you to configure the Password Manager Tool to change password. The image below shows you how the PWM screen looks like and what’ will the users see when they want to change their password.

Go to the Installation URL and select configuration editor.

http://localhost:8080/pwm/config/ConfigManager?

Open-Source-Password-Self-Service-PWM-0

Select Modules and Change Password


Open-Source-Password-Self-Service-PWM-1

PWM will display a page with the different options allowed to configure.


Open-Source-Password-Self-Service-PWM-2

Click the menu actions at the top and save your changes. At this point Password Manager Open Source tool will check everything is properly configured. Click the PWM main menu button at the bottom to return and test the configuration.

Open-Source-Password-Self-Service-PWM-3


Testing Change Password in the Open Source Password Manager Self-Service

Login with a test user.

Open-Source-Password-Self-Service-PWM-4


Select Change Password.

Open-Source-Password-Self-Service-PWM-5


Introduce the Current Password and the new password and click change password button.

Here you can also click the Auto-generate a new password to get one.


Open-Source-Password-Self-Service-PWM-7


Wait meanwhile the Open Source Password Manager tool change your password.

Open-Source-Password-Self-Service-PWM-8


After a while PWM will display a successfully complete screen. Click continue.

Open-Source-Password-Self-Service-PWM-9

For new user that has never registered with the tool or change his password with the PWM the SETUP Password Response will be displayed.

Save the questions & confirm the question and PWM will display a screen with the confirmation.

Open-Source-Password-Self-Service-PWM-10


Click continue to logout.

Open-Source-Password-Self-Service-PWM-13

9 things you need to know about Quest One Password Manager

$
0
0

  1. Installation Folder

%systemdrive%\Program Files\Quest Software\Quest One Password Manager

  1. The configuration data is stored locally in the following folder:

%systemdrive%\ProgramData\Quest Software\Password Manager

  1. Password Manager configuration is stored in the following files:
  • local.storage
  • shared.storage
  1. Password Manager Service is called QPM Service
  1. Password Manager uses the scheduled task and the _QPMStorageContainer account to copy and distribute configuration data from one Password Manager instance to another, and to synchronize data among instances for consistency.
  1. _QPMStorageContainer is the configuration storage account that is automatically created in the Users container of the managed domain, when you add a managed domain to a user scope. This account is used for storing a copy of Password Manager configuration data and replicating the configuration changes between Password Manager instances.
  1. There is only one  ’_QPMStorageContainer‘ Active Directory object per Quest Password Manager install.
  1. By defualt, Quest One Password Manager creates a local group named QPMAdmin on the local server where the QPM Service is installed and gives directory permissions to the QPMAdmin virtual directory in IIS.
  1. To grant permissions to a user account for gaining access to the QPMAdmin website, simply add the user account to the QPMAdmin local group on the Server where the Quest One Password Manager Administrator site is installed.

Which macros are available in Open Source Password Self Service for LDAP directories (PWM)?

$
0
0

PWM Macros can be used at varios places in the PWM configuration. To access to the available macros go to the menu View > PWM Macro Help.

The following macros are available:

@LDAP:<attributeName>@ Replace with LDAP value of <attributeName>
@LDAP:DN@ Replace with LDAP value of user’s Distinguished Name
@User:PwExpireTime@ Time user’s password will expire in PWM default format.
@User:PwExpireTime:<pattern>@ Time user’s password will expire where <pattern> is a SimpleDateFormat pattern
@User:DaysUntilPwExpire@ Number of days until the user’s password will expire
@User:ID@ User’s UserID (if authenticated)
@PWM:InstanceID@ Instance ID of the PWM application
@PWM:CurrentTime@ Current time in default PWM format.
@PWM:CurrentTime:<pattern>@ Current time where <pattern> is a SimpleDateFormat pattern
@PWM:SiteURL@ URL of the site (http://www.example.com/pwm)
@PWM:SiteHost@ Hostname of the site (www.example.com)

To use a macro, just place the macro into the configuration value such as:

Dear, @LDAP:givenName@, Thank you for your activity today, @PWM:CurrentTime:EEE, MMM d, yyyy@.


This macro will then be expanded to:

Dear, John, Thank you for your activity today, Wed, Jul 4, 2001.

Display a Password Change Agreement Message in Open Source Password Self Service for LDAP directories (PWM)

$
0
0

PWM allows you to display a Password Change Agreement Message to user before being allowed to change password. This message may include HTML tags and PWM Macros.

Follow the next steps to include you customized Password Change Agreement Message:

1. Select or go to the PWM Configuration Editor

2. Select Modules > Change Password

Open-Source-Password-Self-Service-PWM-1

3. Go to the Password Change Agreement Message section
4. By default this section do not include any message.

Open-Source-Password-Self-Service-PWM-2


5. In the default textbox include your agreement message. Remember you can use plain text, html and PWM macros.

Dear @User:ID@ , Your password will be changed Today @PWM:CurrentTime:EEE, MMM d, yyyy@.
Remember you can access to the next @PWM:SiteURL@ URL to do any other operation.

Thanks you for your activity today


Open-Source-Password-Self-Service-PWM-3


5. Save your changes and review the output.

a. Login with a test account

Open-Source-Password-Self-Service-PWM-4


b. Select Change Password

Open-Source-Password-Self-Service-PWM-5

c. Your Custom message is displayed before to proceed for a password change.

Open-Source-Password-Self-Service-PWM-6


d. Change your password

Open-Source-Password-Self-Service-PWM-7

e. Wait for the system for Change your password.

Open-Source-Password-Self-Service-PWM-8


f. A Success message is displayed. Click Continue to finish.

Open-Source-Password-Self-Service-PWM-9


Viewing all 86 articles
Browse latest View live